
Out Door Setting Plus!
It started as a simple discussion about having family and friends visit and using the blown plastic fold up table with only two chairs other than the dinning chairs from indoors. The two chairs outside sorry make that three are/were a canvas fold up Max sleeps on. My Shower chair and my wheelchair.We required more seats for starters! As it happened Masters announced its closing sale start we picked up six new chairs.
We both liked our son Peter and Jaclyn’s setting Merbau with two benches, we had taken notice of the ones at both Masters and Bunnings but like none we saw size wise or shape.
Discounted Merbau come into play a size chosen 2m long x 900mm wide 750mm high. Plus a bench being IF we ever have ALL the family here thats 12 in all.
The plan was drawn up well in my head not on paper or pc.
The job began with four or five trips to get the boards to much weight and not enough room in the Subaru and Sue doesn’t drive with a trailer attached.
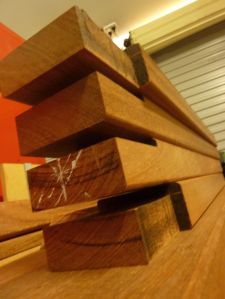
The decking planks cut to length on the SCMS (sliding compound mitre saw), 45^ cuts for butting a corners for rails. Legs for the table mitred on the bandsaw
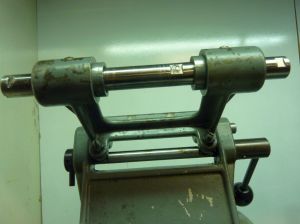
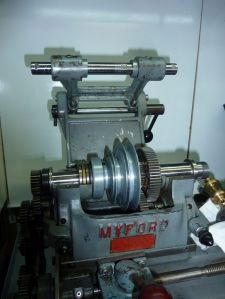
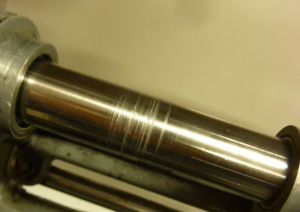
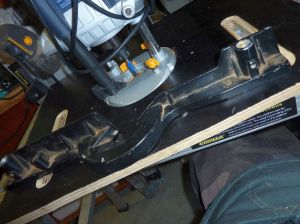
Material for legs for the bench cut………..now to make a router table top to cut the mortice for the legs. OH damn need to machine some of the parts………….grrrrr Myford lay shaft ceased, yet the pulley was partly free. Thanks goes to new acquaintance Toby who came to the rescue when the lay shaft had to be pressed through the last hanger. I had to linish on the wood lathe the shaft to remove burs caused by grub screws and the flared ends had been hammered hence why it would not come out easy as it should.
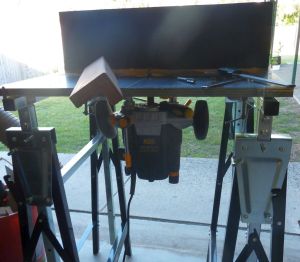
Like some things time projection of a job finished date just blows out. However the Myford is now running sweet and I have a router table top for vastly other projects (might need to make a better stand though).
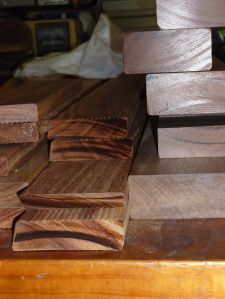
The boards are 90mm wide x 19mm thick lengths varied, I sliced one in half and formed the four bench legs, glued and screwed. Using the router top mortice them to suit the plan 25mm deep one section 90mm long the other 45mm long. This was to accommodate the post and rails of the bench.
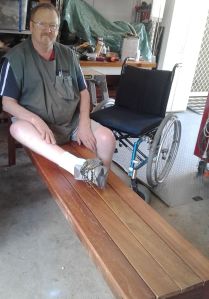
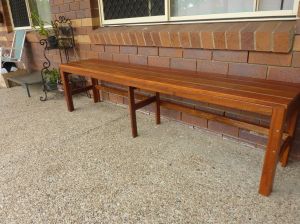
This has taken some two months maybe more but at last the bench has been bench tested I have since fitted a support rail between the legs and possibly will fit a third middle leg.
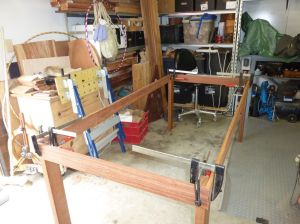
The table frame did get a dry assembly to check cuts etc during this time.
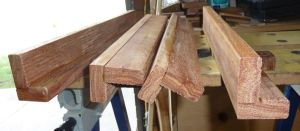
Below left table legs and rails
Below bench legs glued up
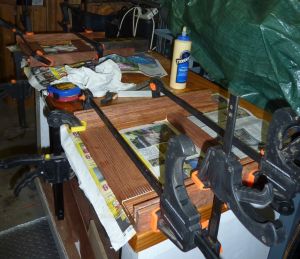
Bench leg frame glue up.
Dry fit of table main frame setting out of bench stringers and legs.
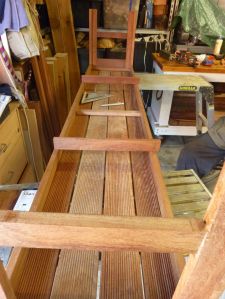
Counter bored, counter sunk holes using Stainless 10# self tappers.


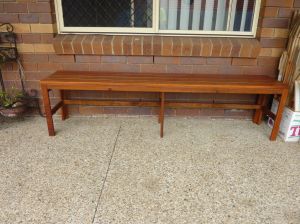
On the ground at last and testing the bench. It has been oiled while in pieces with still a last sand and coat to be done. I have ends to trim as yet.
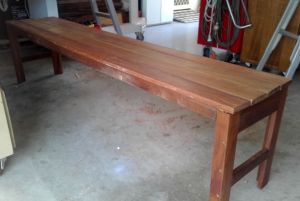
Edited to Add 4th November.
Thought it best to add the finished photo of the bench in situ, a middle leg and spreader rung added for support.
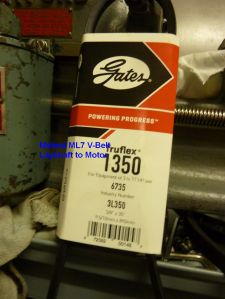
The Myford lay shaft fix, its simple once you’ve done it! However the main shaft also had to come off as the belts were sadly damp with WD40 from lubing the shaft to try remove it. Thank goodness as it proved the belts were wrong to start with. It gave me an inspection of the main bearings and was able to clean up the bull gear etc. All back together and used to make the parts for the router table.
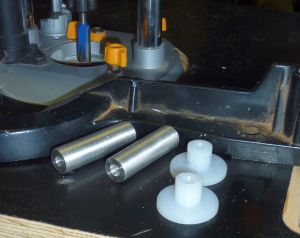
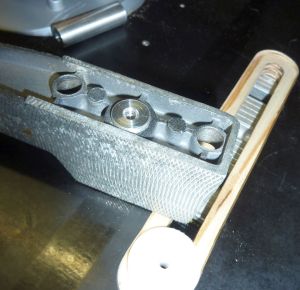
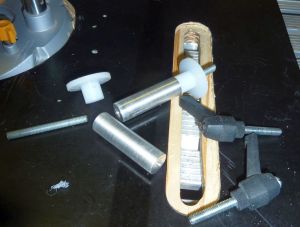
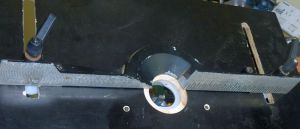
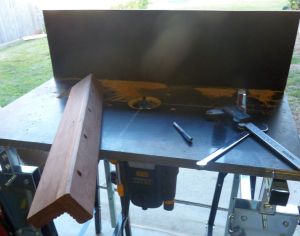
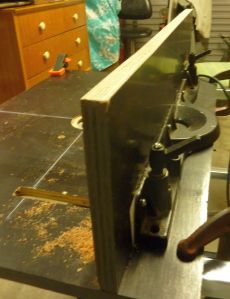
The router table
19mm ply recess routed to allow router to sit into it to give greater height adjustment of bit. I had an old SCMS fence and made two alloy bushes to sit in these tapped to take hold down screws. Turned up two nylon T-nuts also.

No comments:
Post a Comment
Your comments are welcome please forgive us if not replied to immediately.