
A 2 hour visit back to Aidacare where I bought the chair gave no satisfaction of an quick, easy or inexpensive outcome. Now by rights this was a dangerous situation as I had been thrown from the chair twice due to a shorter wheelbase and pivot points making things very unstable so they should have I believe been held responsible.
I can't fault the to fine chaps who went out of their way with time and ideas to try as much as they could with stock off the shelf to rectify the problem, only to find that a brand new shipment of foot plate brackets was going to put peoples lives in greater danger than mine already was. Thats their serious problem, now I hope not one chair is sold till it is rectified. The design engineers and production team in Asia need one heck of a shake up from what I saw.
Ok onto my own remedy and fix.
The reason is that moving the castors forward then had them hitting the foot plates by 50mm.
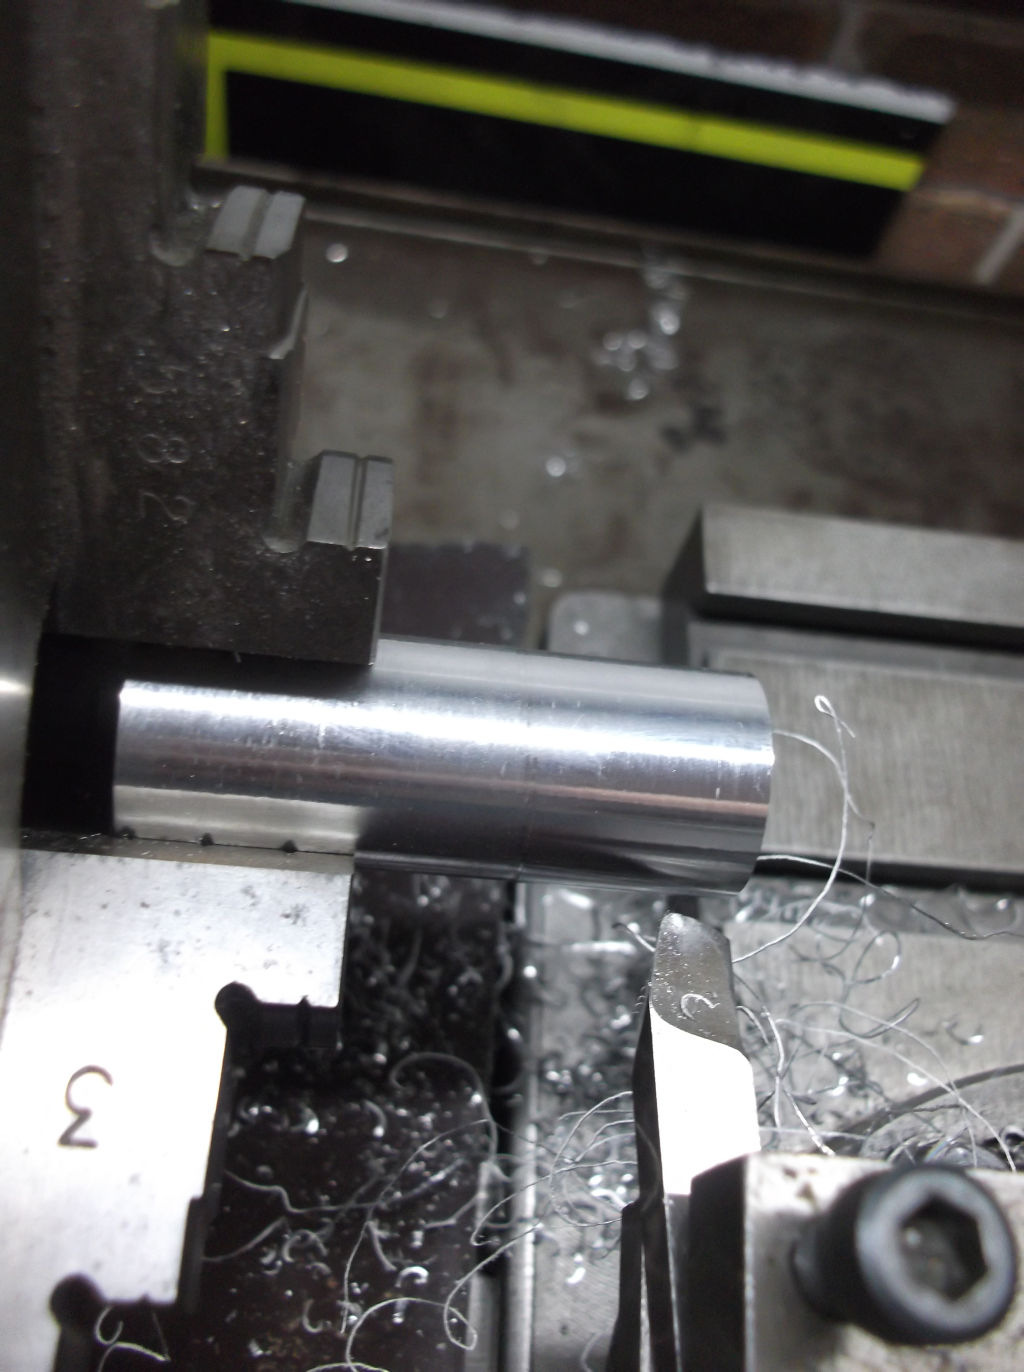
First of all my old wheelchair front frame came in handy two tubes where cut to extend the top pivot points of each side 50mm, an aluminium sleeve turned to suit (oh it's so nice to have the Myford) and inserted, drilled and bolted with the original pivot piece.


Next and much thanks goes to my son Peter for his help with this part my hands just refused to work well as I was rushing and unwell.
Making the lock bracket.
Two pieces cut 150mm long from an L 3mm shape of Aluminium from Bunnings. Marked out and shaped on the bandsaw and cove sanded to final shape on the drill press using a radial sanding tool. Holes drilled after numerous checks for alignment of the first one this was all done by Peter on Saturday. The second one I did today, then came in doors to sit on the floor for final alignment and drilling of two holes to join the two brackets. This seems strong enough but a third can be added if required.


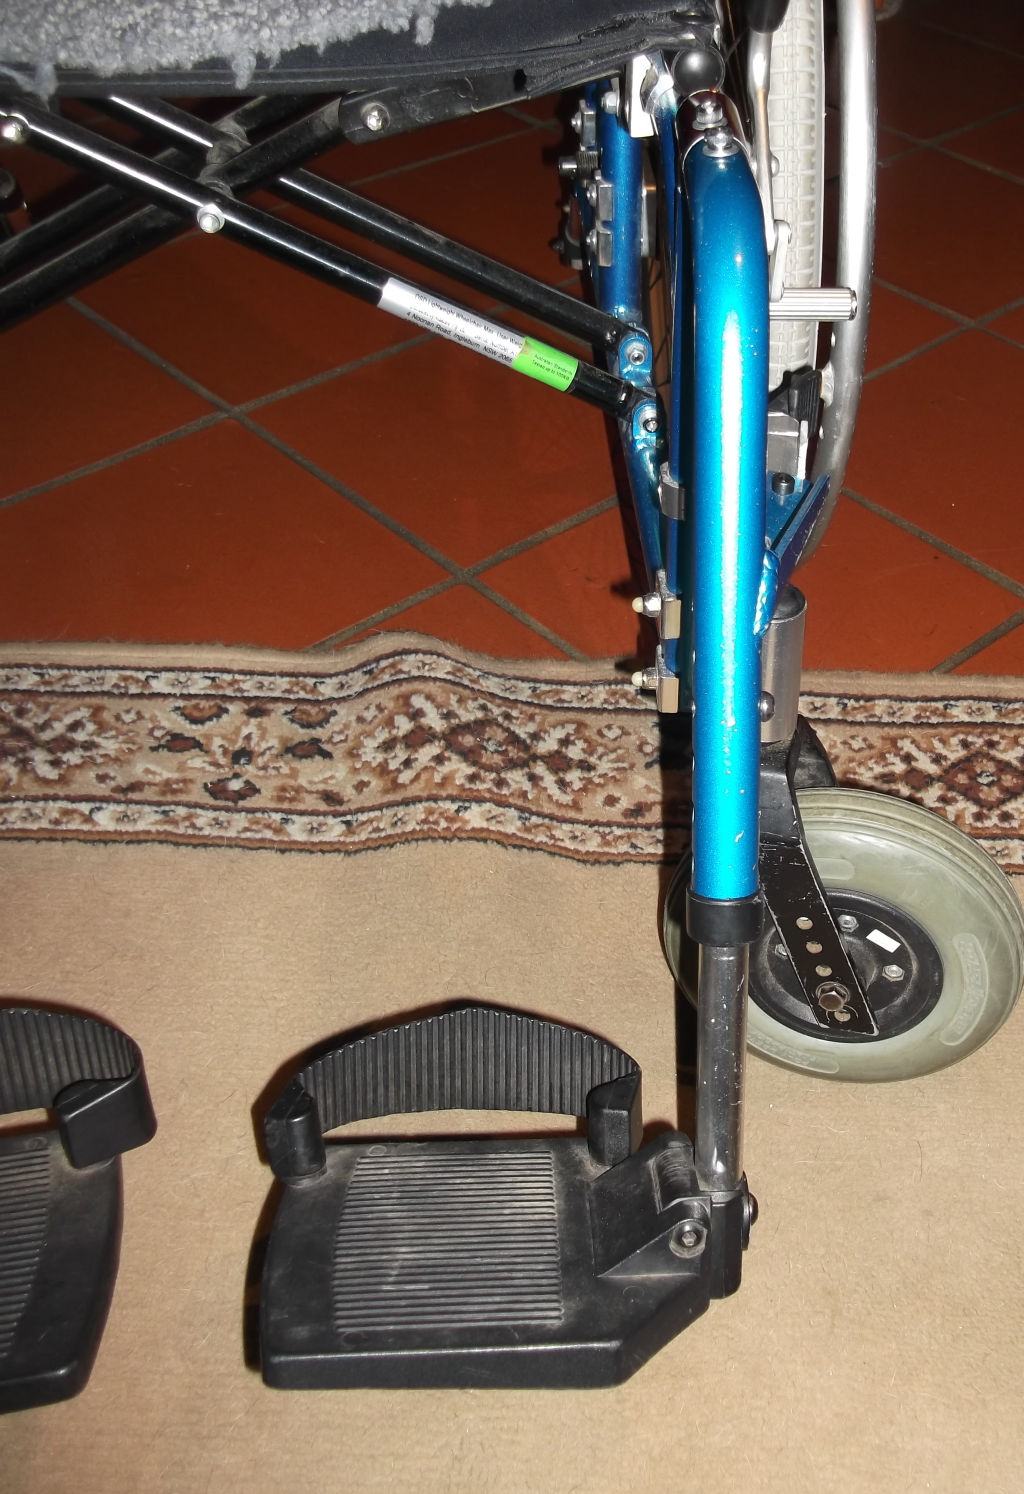
 All fitted and aligned.
I tried it out and I am no longer going to suffer leg cramps. Entering and leaving sloping drive ways will not have me hanging on for grim fear of being thrown out of the chair due to the tip point of the front castors.
Leaving and entering homes with even a single step the wheelbase will now allow some distance to make it easier.
Oh replacement cost of new foot brackets were in the region of $180. This repair has cost me about $40 total and a few days work.
I would like to make a brand new top bracket but I do not have a tube bender or TIG welding gear and its over 30 years since I did any TIG welding. A gent off the forum has offered to should I need to go further thanks Kieth.
No comments:
Post a Comment
Your comments are welcome please forgive us if not replied to immediately.